Claude Code Free in VS Code: OpenCode Zen + MiniMax Setup

Connect the Claude Code CLI and VS Code extension to OpenCode Zen's free models, then configure MiniMax M2.5 or DeepSeek V4 Flash. No GPU, no subscription, and no phone verification.
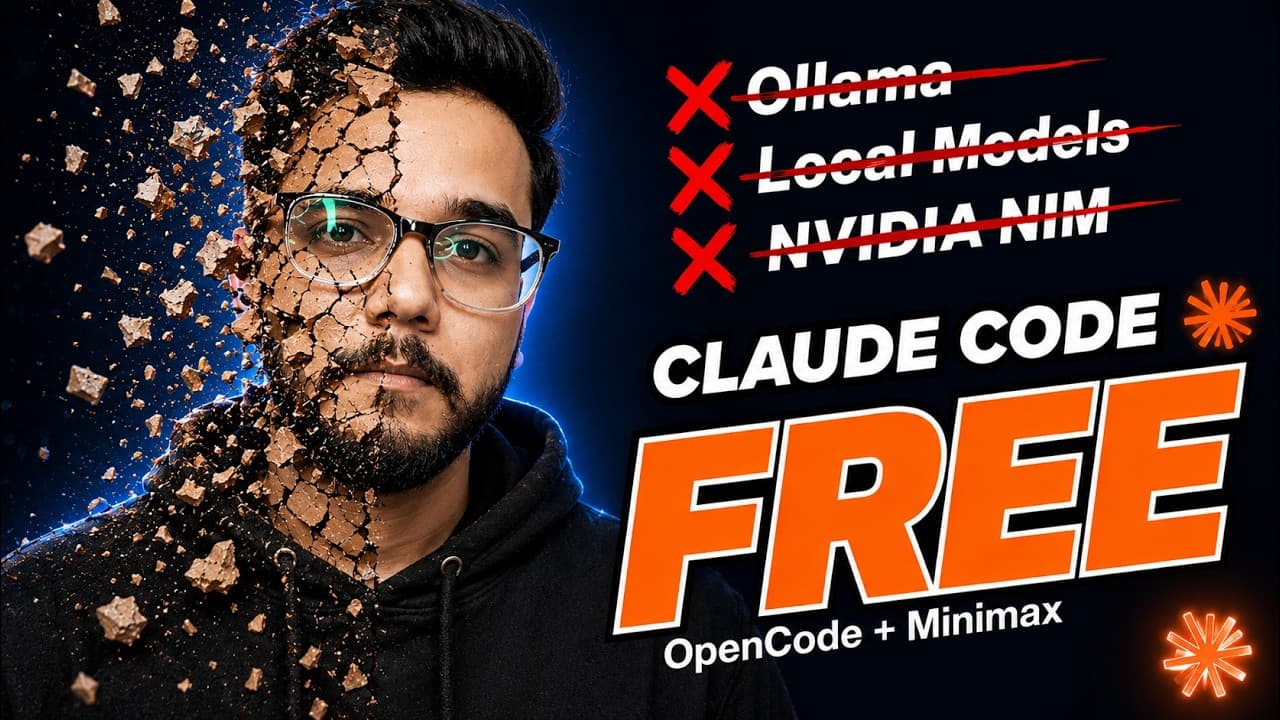
The official Claude Code experience expects a paid Anthropic plan. That is a reasonable cost for full-time work, but it is a hard sell when you are learning or testing the workflow. The alternative in this video is to keep the same CLI and editor experience but point it at a free model through OpenCode Zen.
The key idea is compatibility. Claude Code speaks the Anthropic API format. OpenCode Zen exposes hosted models behind a compatible endpoint. If you set the base URL, the key, and a model ID, the CLI and the VS Code extension do not need to know where the model actually runs.
What you need
- VS Code
- Node.js 18 or newer
- An OpenCode Zen account and API key
- The Claude Code CLI
- Optional on Windows: Chocolatey, if you prefer package installs
The video uses MiniMax M2.5 and DeepSeek V4 Flash because they were free on Zen at recording time. Free models rotate. If one is unavailable, pick another model from the Zen dashboard and use its exact model ID.
Step 1: Install Node.js
Download the LTS installer from nodejs.org. On Windows, you can also use Chocolatey:
choco install nodejs-lts -y
Close and reopen the terminal, then check:
node --version
npm --version
Step 2: Create the OpenCode Zen key
Open opencode.ai, sign in, and create an API key in the console. Copy it once and keep it safe. If you lose it, revoke it and create another.
Step 3: Install the CLIs
Install OpenCode:
npm install -g opencode-ai
Connect the Zen key:
opencode auth login
Choose OpenCode Zen and paste the key. Test it with a small prompt before moving on.
Install Claude Code:
npm install -g @anthropic-ai/claude-code
Check both:
opencode --version
claude --version
Step 4: Configure the model
Claude Code reads its provider settings from environment variables. The exact values for the Zen endpoint, key, and model are in the setup doc from the video and in the Zen dashboard:
export ANTHROPIC_BASE_URL="YOUR_ZEN_BASE_URL"
export ANTHROPIC_AUTH_TOKEN="YOUR_ZEN_API_KEY"
export ANTHROPIC_MODEL="YOUR_MODEL_ID"
Windows PowerShell:
$env:ANTHROPIC_BASE_URL = "YOUR_ZEN_BASE_URL"
$env:ANTHROPIC_AUTH_TOKEN = "YOUR_ZEN_API_KEY"
$env:ANTHROPIC_MODEL = "YOUR_MODEL_ID"
Copy the values exactly. Do not guess the base URL. A trailing slash or the wrong path is enough to make the CLI fail with a connection error.
For VS Code, put the same values in the extension settings or in the environment that launches VS Code. The video uses settings.json for this. After saving, reload the window so the extension starts with the new environment.
The setup doc from the video is here: Claude Code free VS Code guide.
Step 5: Test the CLI
Open a project and run:
claude
Ask it to explain a file or make a small change. If it answers, the endpoint and key are correct. If it fails:
- Check that
ANTHROPIC_BASE_URLhas no trailing slash unless the provider requires one. - Confirm the model ID exists in the Zen dashboard.
- Re-run
claude --versionto make sure the CLI is installed. - Open a new terminal so the environment variables are loaded.
Step 6: Test the VS Code extension
Open VS Code, install the Claude Code extension, and reload the window. Open the panel and send a small prompt. If the extension cannot connect but the CLI works, the editor did not inherit the environment. Set the values in the extension settings or launch VS Code from a terminal that has them.
Free model strategy
Free models are a moving target. A model that is free today may be paid or removed next month. Keep two model IDs ready:
- One fast model for small edits.
- One stronger model for debugging and multi-file changes.
Switch models in the configuration rather than reinstalling the tools. Test the same prompt on both so you know which one is worth using for real work.
Common mistakes
- PATH errors after installing Node. Reopen the terminal.
- A key pasted with spaces. Copy it again.
- A model ID that does not exist. Copy it from the dashboard, not from a blog post.
- Committing settings with the key. Add the file to
.gitignore. - Expecting the free tier to be permanent. Have a fallback.
Final thoughts
The appealing part of this setup is that it keeps the Claude Code interface while changing the model provider. The CLI and the extension stay familiar, and the free model does the work. Configure the endpoint once, test it in the terminal, then reload VS Code and test it there. Keep the setup doc handy because the free model names will change.
- OpenCode Zen provides a single key for hosted models.
- The Claude Code CLI and VS Code extension can both use that key.
- MiniMax M2.5 and DeepSeek V4 Flash were free options at recording time.
- Configure the editor environment before launching the extension.
- Do not commit the key or the settings file that contains it.